
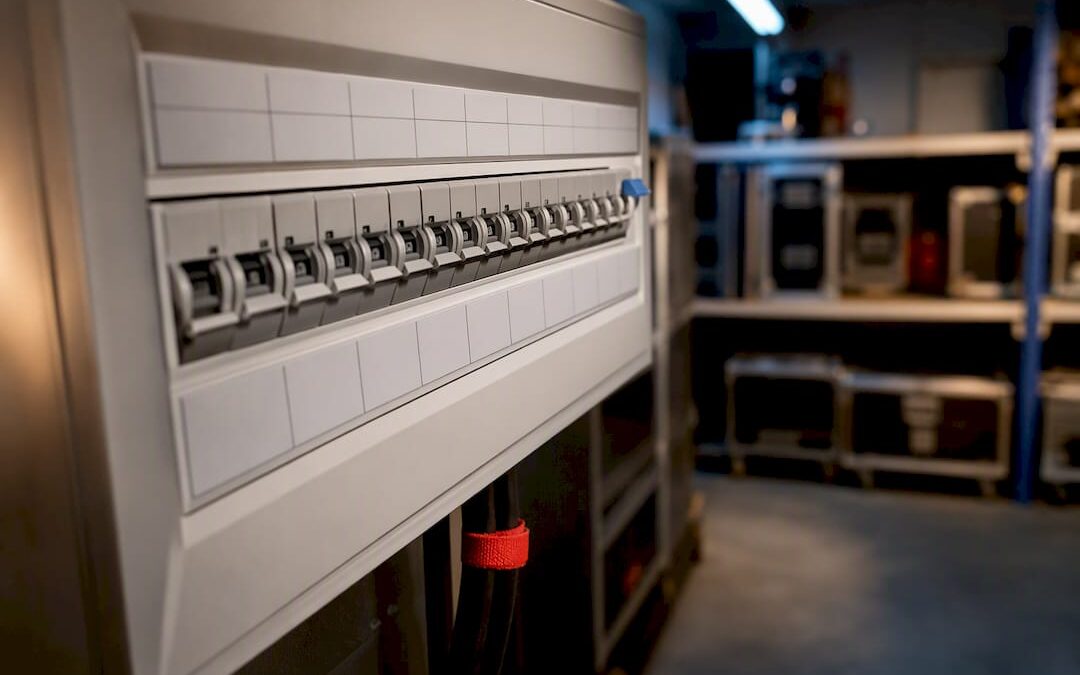
Correct distribution board labelling means every circuit is marked clearly enough that nobody has to guess what it feeds. BS 7671 backs this with a firm rule: switchgear must carry unambiguous identification, though Regulation 514.9.1 permits a single durable chart instead of individual labels where that’s more practical. Check what’s on your board right now, and if it’s vague, missing, or handwritten on tape, produce or update that chart today.
TL;DR:
- Proper circuit labelling must include specific area details, protective device ratings, and feeder references to ensure quick fault tracing and safe operation.
- Durable materials like engraved traffolyte or polycarbonate are recommended for labels, and they should be positioned aligned with the corresponding breaker to avoid confusion.
- When relabelling, verify circuits by tracing feeds with photos and documentation to prevent outdated or incorrect labels from persisting.
- Switchgear must carry unambiguous identification, and optional charts are acceptable if they are legible, durable, and provide detailed circuit information.
- Notices for RCD testing and periodic inspections are required near the board, with clear, accurate wording that is reviewed regularly during maintenance and updates.
Table of Contents
- Why distribution board labelling matters
- What BS 7671 requires: Section 514 explained in plain language
- What to put on each label or circuit chart
- Materials, sizing and placement best practice
- How to label or relabel a distribution board
- Worked examples and ready-to-print templates
- Keeping labels accurate as the board changes
- Publisher perspective: how Jaks Party Power documents labelled boards
- Get your event distribution board labelled and handed over properly
- Sources
- FAQ
Why distribution board labelling matters
An electrician staring at an unmarked consumer unit during a fault has two choices: isolate everything, or guess. Neither is good. Clear labelling turns a 40-minute trial-and-error job into a two-minute check, and it removes the temptation to work on a live circuit because tracing it felt like too much hassle.
The IET’s own guidance treats labelling as a mark of professional workmanship, not an afterthought. Inspectors notice it too. A board with vague or missing identification tends to attract other observations during an Electrical Installation Condition Report, because poor labelling often signals poor documentation generally.
What good labelling actually buys you:
- Faster fault diagnosis without needless isolation of healthy circuits
- Safer working for anyone who opens the board after you, including people who’ve never seen the installation before
- Fewer inspection findings and a smoother periodic inspection
- A paper trail that survives staff turnover, house sales, or venue changeovers
What BS 7671 requires: Section 514 explained in plain language
Regulation 514.1 is the anchor point: every piece of switchgear, and every circuit within it, needs marking that leaves no room for ambiguity about its function. That’s the compliance floor, whether you’re labelling a domestic consumer unit or a three-phase distribution board at a wedding marquee.
Where fitting a label to every single way is genuinely impractical, Regulation 514.9.1 allows a durable chart fixed inside the board or immediately adjacent to it, provided the chart is legible, durable, and detailed enough to identify each circuit on its own.
Section 514 doesn’t stop at circuit identification. It also demands specific notices: an RCD test notice near the board’s origin, an inspection recommendation notice stating when the next periodic inspection is due, and, where a board mixes older and newer wiring colour identification systems, a caution notice warning of that fact under Regulation 514.14.1.
Miss any of these and you’ve technically fallen short of Section 514, even if every breaker has a neat label stuck above it.
What to put on each label or circuit chart
Vague wording is the single most common failure point. A label that just says “Sockets” tells nobody anything useful once a property has three or four socket circuits, and it fails the intent of the regulation even though technically something is written down.
Each entry, whether it’s an individual label or a line on the chart, should include:
- Circuit identifier — CB1, CB2, Way 3, matching however the board itself is numbered
- Specific area or equipment served — “Kitchen ring, worktop sockets” beats “Sockets” every time
- Protective device type and rating — for example “Type B MCB, 32A” or “RCBO, 20A, 30mA”
- RCD/RCBO details where relevant, including trip rating
- Feeder reference for sub-boards — a line reading “Fed from MSB CB7” saves whoever’s tracing a fault hour of guesswork on complex sites
- Date and installer reference, especially useful after alterations
Pro Tip: If you’re choosing between individual labels and a chart, ask whether someone unfamiliar with the board could quickly isolate the right circuit using only what’s printed. If not, it isn’t detailed enough yet.
Industry commentary on the draft Amendment No. 2 proposals for Section 514 suggests future editions may formalise minimum text and symbol sizes, referencing established safety signage standards. Treat legibility as a requirement now, not a nice-to-have you’ll get to eventually.
Materials, sizing and placement best practice
Cheap tape labels fade, peel, and smear within a year of heat cycling inside a warm board. Engraved traffolyte or laminate holds up for decades, UV-rated polycarbonate suits boards exposed to daylight, and aluminium plates cope with harsh outdoor or industrial sites better than anything printed.
What to use, and what to bin:
- Traffolyte/engraved laminate — the standard choice for domestic and commercial boards, long-lasting and cheap to replace individually
- UV-rated polycarbonate — holds colour and legibility in sunlight, useful for outdoor enclosures
- Aluminium — for sites with vibration, dust, or heavy handling
- Avoid Dymo-style adhesive tape for anything meant to last beyond a temporary job
On sizing, text needs to be readable at normal working distance from the board, not squinted at from an inch away. The circuit identifiers should be large enough to read clearly from a safe distance in typical fault conditions.
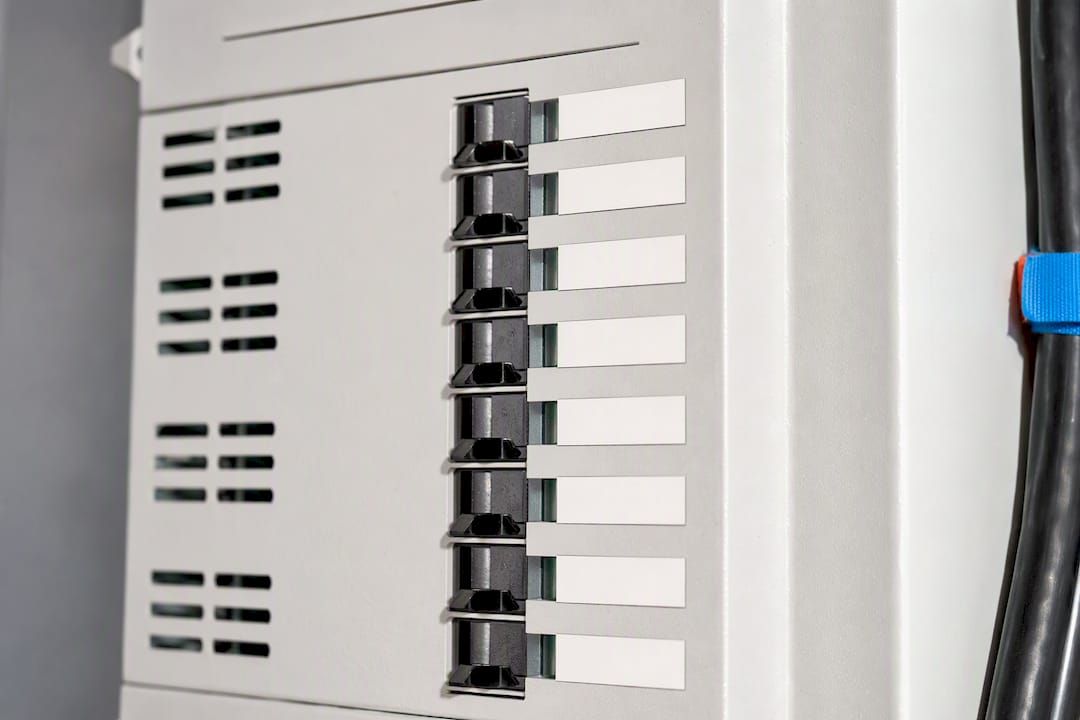
Placement matters as much as the label itself. Align each label directly with its breaker rather than stacking several above a bank of switches where it’s unclear which belongs to which. Keep labels clear of ventilation slots, since covering vents traps heat and shortens the life of both the label and the breaker behind it.
How to label or relabel a distribution board
Relabelling an existing board without verifying first is how mismatched labels end up back on the wall. Work through this sequence instead:
- Photograph the board as found, including every existing label, before you touch anything.
- Gather documentation — previous EICRs, as-built drawings, or any circuit schedule already on file.
- Live-trace or use a schematic check to confirm what each way actually feeds. Never assume an old label was correct; treat it as a hypothesis to verify, following safe isolation procedure throughout.
- Document discrepancies as you find them, since these often explain why a previous label was wrong.
- Remove old labels cleanly rather than sticking new ones over them.
- Print and fit new labels or produce the updated chart, aligned to each breaker.
- Update the circuit schedule to match exactly what’s now on the board, then hand the paperwork over alongside the physical labelling.
Skipping step three is the most common shortcut, and it’s how a mislabelled circuit survives two or three relabelling jobs in a row.
Worked examples and ready-to-print templates
Seeing actual wording helps more than any abstract rule. Here’s how the fields translate into real labels across a few common scenarios:
| Circuit | Label wording | Protective device |
|---|---|---|
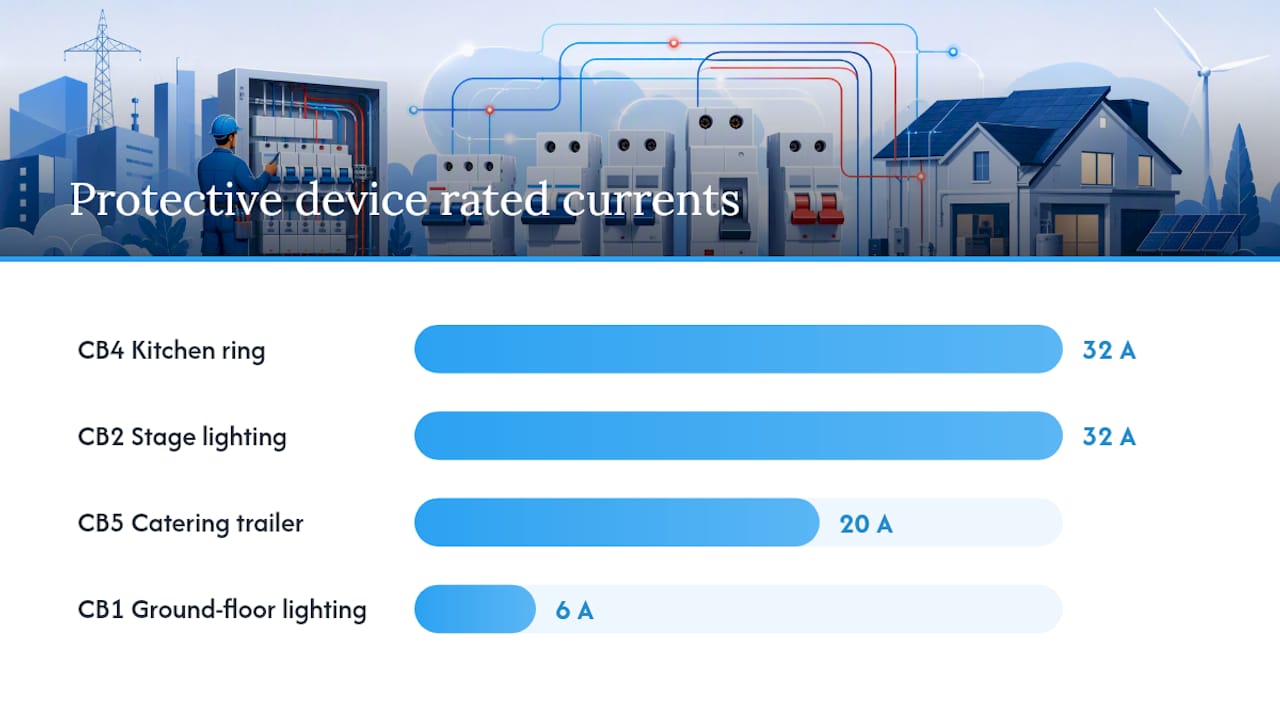
| CB1 | Ground floor lighting, hallway and lounge | Type B MCB, 6A |
| CB4 | Kitchen ring, worktop sockets | RCBO, 32A, 30mA |
| CB7 | Hot water immersion | Type B MCB |
| CB2 | Stage lighting rig, fed from MSB CB3 | Type B MCB, 32A |
| CB5 | Catering trailer supply, fed from event DB1 | RCBO, 20A, 30mA |
Event and venue boards need that feeder reference more than most domestic jobs, since a temporary rig might have three or four sub-boards feeding different marquees or stalls from one master board. A board serving a catering setup, for instance, benefits from wording that ties back to the exact source circuit, which matters when a catering brief for a corporate event specifies multiple appliance circuits on one supply.
If you’re producing templates digitally, export at the label size your printer actually supports and proof one sheet before committing to a full batch. Most labelling software lets you save a template per board type, which saves rebuilding the layout every time.
Keeping labels accurate as the board changes
A label is only useful while it matches reality. Every time a circuit gets added, moved, or replaced, that’s the moment to update both the physical label and the written schedule, not “next time someone’s in the cupboard.”
Practical maintenance points worth building into a routine:
- Update labelling and the circuit chart together whenever alterations happen, never one without the other
- Fit or check the RCD test notice near the board’s origin, and note the recommended test interval on it
- Confirm the inspection recommendation notice states a realistic next inspection date, not a generic sticker left over from installation
- Hand a copy of the updated schedule to the site owner or facilities manager, not just to whoever was on-site that day
- Flag mixed wiring era boards with the required caution notice if older and newer circuits sit side by side
Mismatched labels and charts are one of the most common findings on periodic inspections, and they’re entirely avoidable with five minutes of admin at the point of change.
Publisher perspective: how Jaks Party Power documents labelled boards
Event distribution work throws odd combinations of feeds and sub-boards at you that domestic wiring rarely does, so consistent naming isn’t optional. The same location-equipment-identifier convention is applied across every board on a site, so a marquee lighting circuit reads the same way whether it’s labelled by one electrician or several.
Standby cover during live events means someone can walk up to an unfamiliar board mid-event and isolate the right circuit quickly. Handover packs go out with the labelled board, the circuit schedule, and an inspection recommendation note, drawing on extensive electrical contracting experience.
— Rob
Get your event distribution board labelled and handed over properly
Reading through all the Section 514 detail above is useful, but most event organisers would rather not be the one tracing circuits under a marquee at 6pm on the day. That’s the gap Jakspartypower fills: a distribution board that arrives already labelled, documented, and matched to a circuit schedule you can hand to your venue or your own standby electrician without a second look.

Every board that goes out includes clear circuit identification, an inspection recommendation label, and a written schedule as standard, backed by event distribution board installation that covers the full setup from planning through to handover. If you’re running lighting from an external AV supplier, boards are labelled to match feeds from rigs like those offered through mood lighting hire, so nobody’s guessing which way feeds which truss.
Get in touch through the Jakspartypower site to request a quote or arrange a site visit, and have your next event’s power supply arrive already sorted.
Sources
- Getting important labelling right leaves a lasting impression
- Consumer unit labels: what BS 7671 actually requires
- Provision of information within BS 7671
FAQ
Do switchboards need to be labelled?
Yes. BS 7671 Regulation 514.1 requires every switchboard to carry clear, unambiguous identification of its circuits, either through individual labels or a durable chart under Regulation 514.9.1.
What are the requirements for labelling electrical panels?
Each circuit needs an identifier, a specific description of the area or equipment it serves, and its protective device rating, plus notices covering RCD testing and inspection recommendations where applicable.
What labelling requirements are outlined in BS 7671?
Section 514 covers clear switchgear marking, the option of a durable chart in place of individual labels, an RCD test notice, an inspection recommendation notice, and a caution notice where multiple wiring identification systems exist on one board.
What is the best way to label my electrical panel?
Use durable materials like engraved traffolyte or UV-rated polycarbonate, write specific wording rather than generic terms like “Sockets,” align each label with its breaker, and verify every circuit by tracing it rather than trusting old labels.
How often should RCD test notices be checked or updated?
An RCD test notice should sit near the board’s origin stating the recommended test interval, and it should be reviewed at every periodic inspection to confirm the wording still matches current guidance.